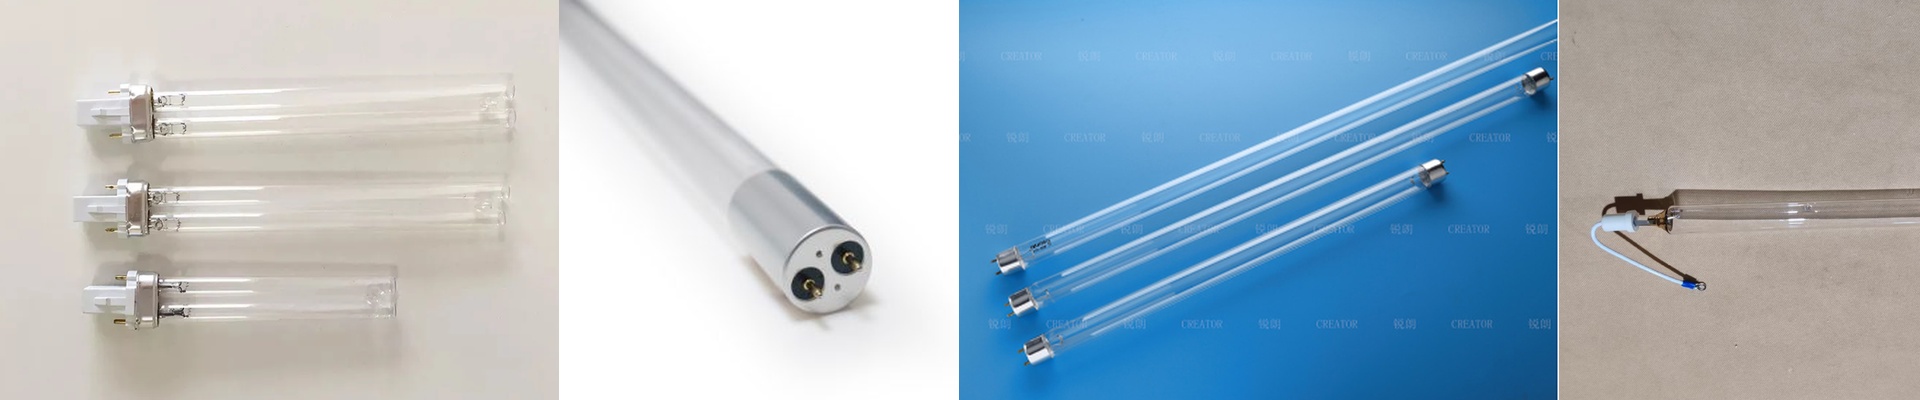
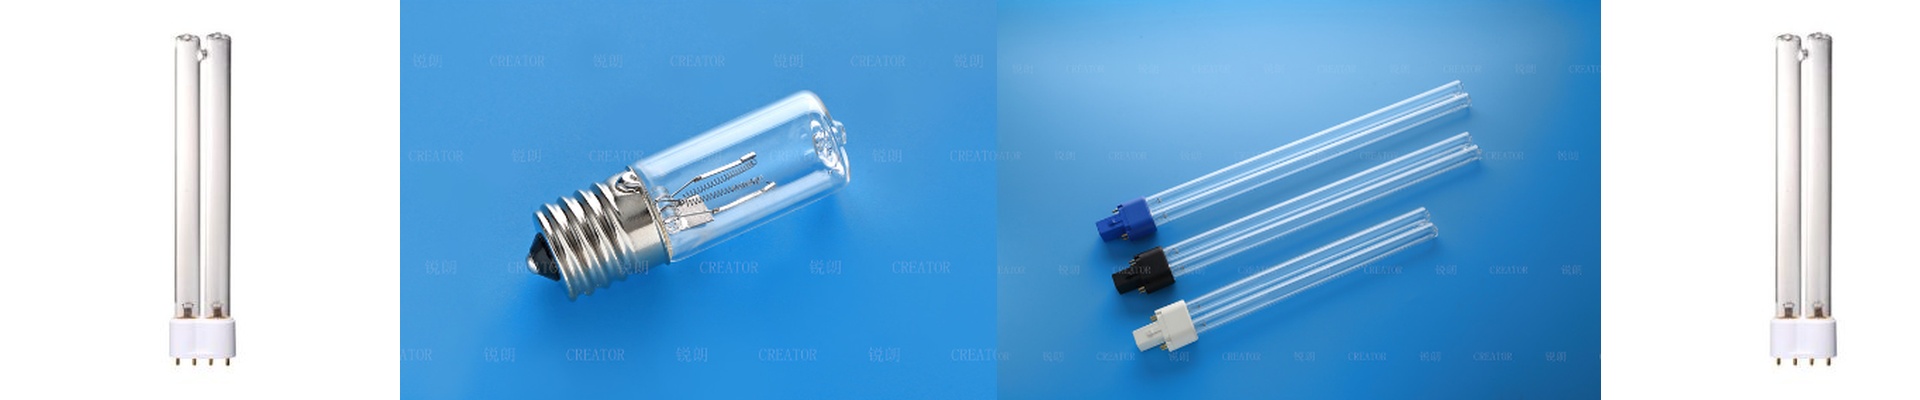
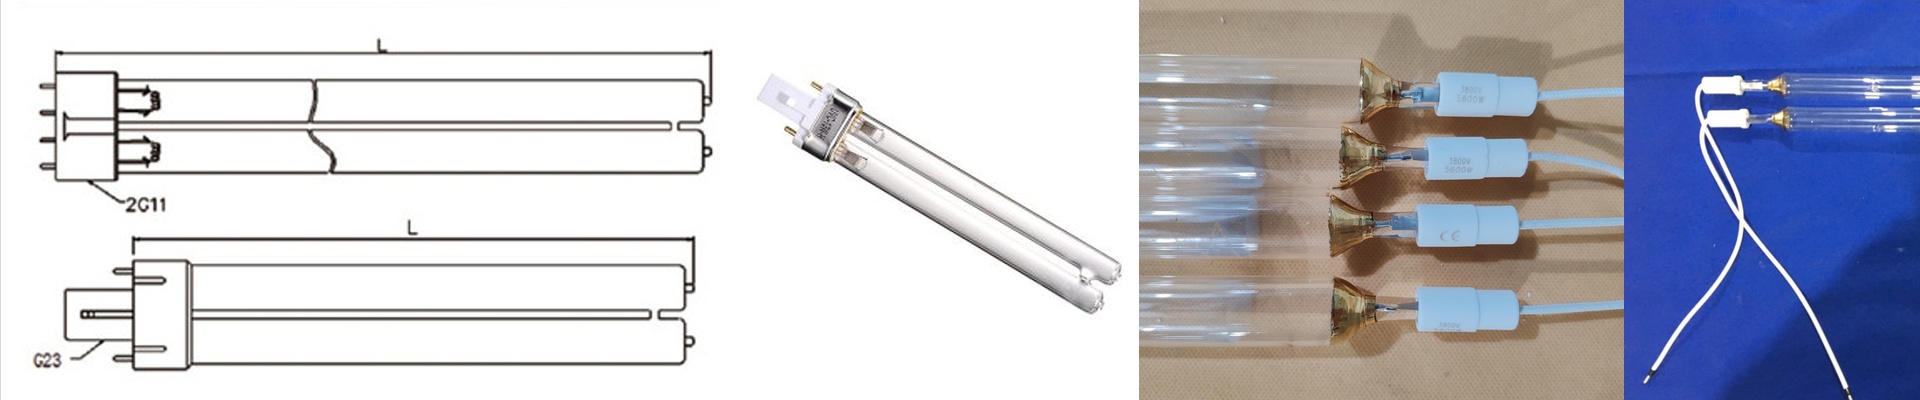
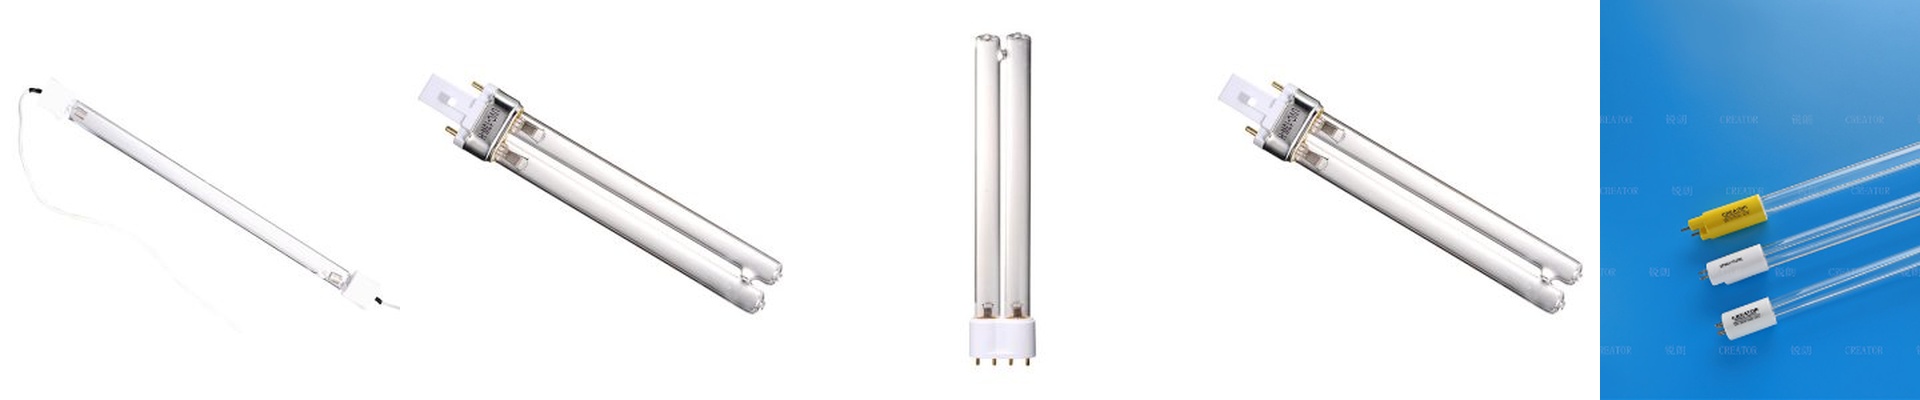
The press is running, but the ink still feels tacky. You already know what’s up: the lamp’s spectral output and energy density aren’t lining up with the photoinitiator profile in the ink—and with the line speed on the machine. Getting the medium pressure mercury UV lamp right isn’t guesswork. It’s physics, chemistry, and making sure the hardware fits the job. What actually matters A medium pressure mercury vapor lamp puts out a broad spectrum, with strong peaks at 365 nm and 385 nm, plus usable output around 405 nm. That range is what gives you both surface cure and through-cure across a lot of UV ink formulations. What you’re really controlling is dose: peak irradiance (W/cm²) at the substrate, times exposure time, gives you energy density (mJ/cm²). Match lamp power and arc length to hit the required dose at your press speed, and pair the reflector’s dichroic coating to the spectral window you need. If you keep thermal management in check, you can expect stable output for a long run. We’ve seen units go 5,000+ hours with less than 5% drop. Why this works in printing These medium pressure mercury lamps are built for industrial printing—UV offset, flexo, and screen—where cure quality and uptime can’t be negotiated. When the lamp matches the lamphouse on your machine and the cure curve of your ink, you see fewer headaches: less scumming, fewer pinholes, and better adhesion. The payoff is faster cycle times, fewer rejects, and lower energy per cured sheet. The practical details Installation is straightforward, but alignment and cooling decide the outcome. Use the correct connector, set the focal distance precisely, and run ozone-free versions in ventilated chambers. Check compatibility with your power supply and shutter cycle—mismatched drivers will shorten lamp life. Keep an eye on reflector maintenance, too; efficiency drops as the coating ages. Spec the lamp length and power to your printer model, and validate with a spectral radiometer reading taken at the substrate plane.